Executing Microsoft Quantum Topological Dataset Notebooks

Microsoft recently released its Topological Quantum Computing dataset for anyone to try out. This post describes how to do so.
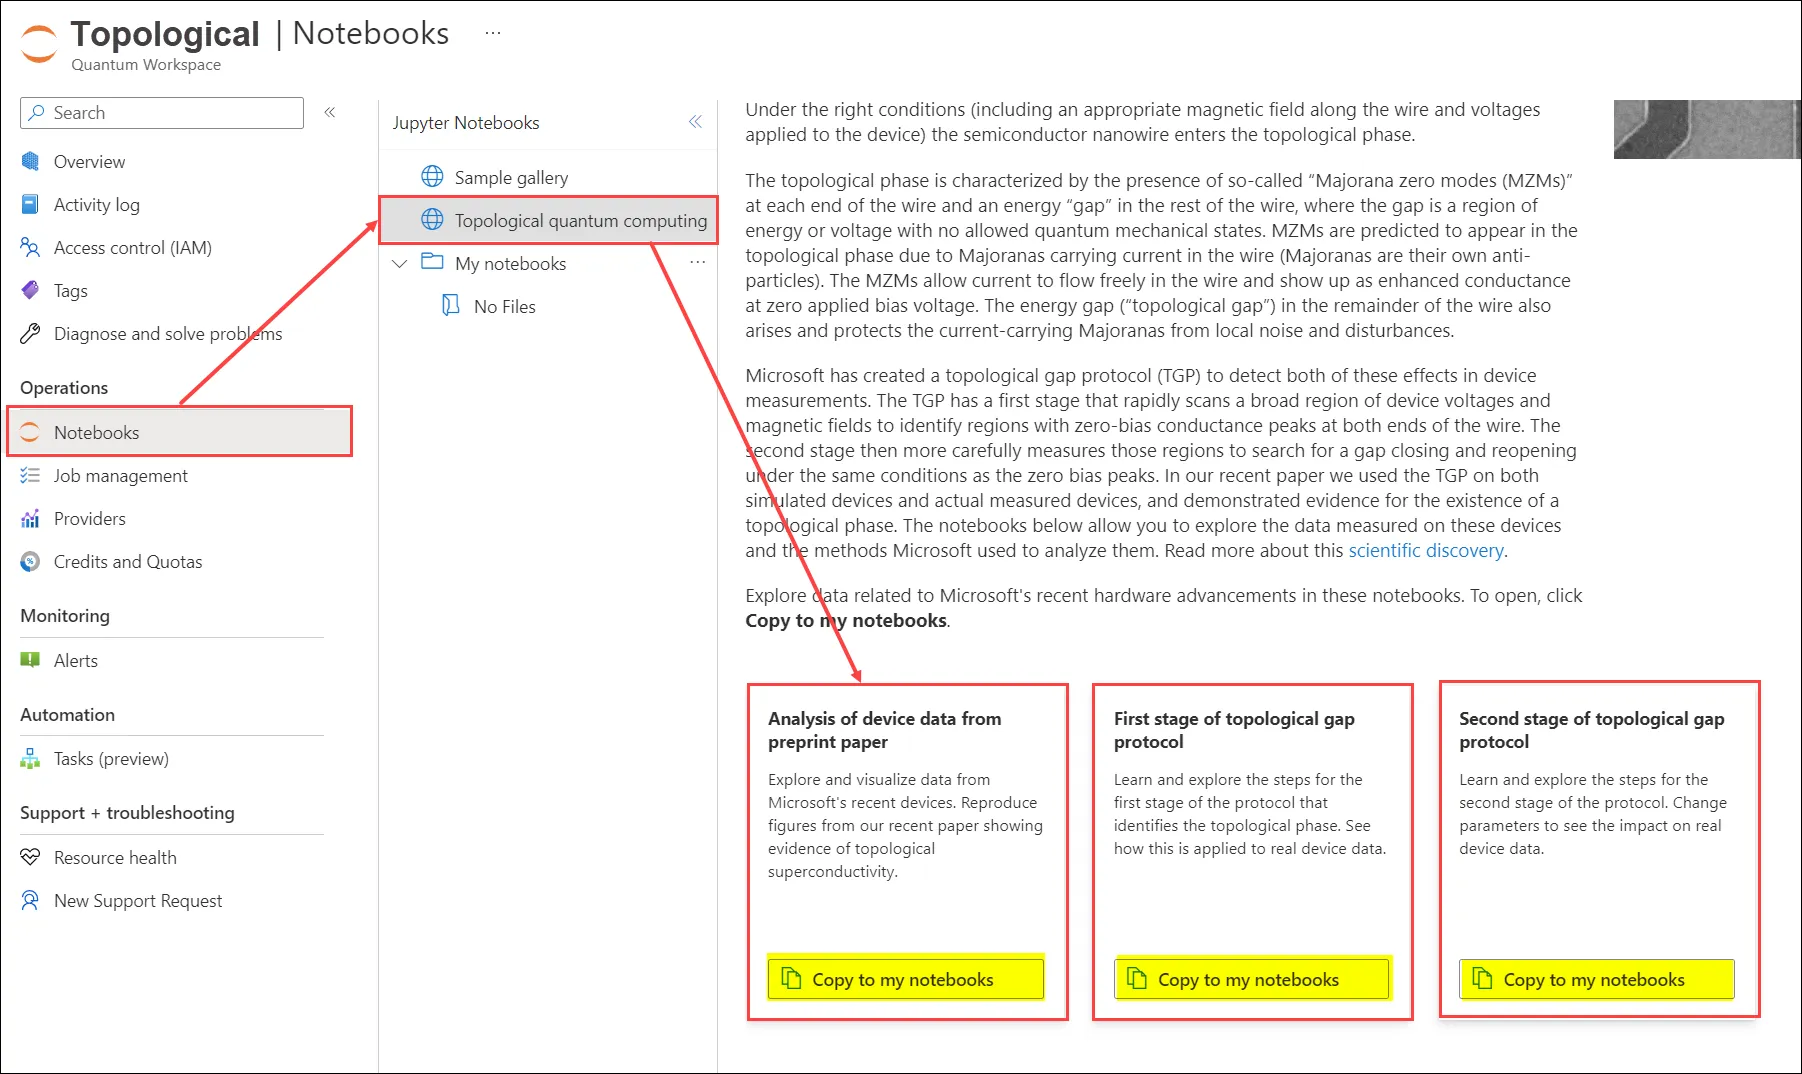
As shown in this article, you can create an Azure Quantum Workspace and within its Notebooks tab, visit the available notebooks under Topological Quantum Computing.
There are three notebooks available to review:
- Analysis of device data from preprint paper
- First stage of topological gap protocol
- Second stage of topological gap protocol
To view and run a notebook:
- In your new workspace, select Notebooks and then select Topological quantum computing.
- Select your desired notebook, and select Copy to my notebooks.
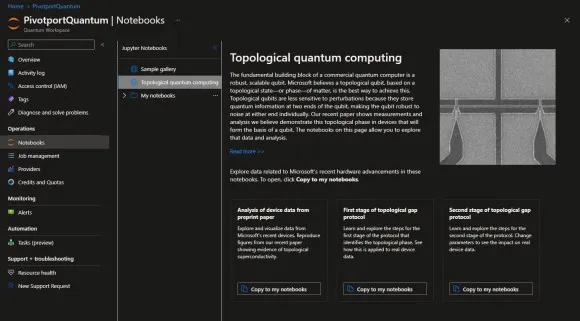
Once you open your Azure Quantum Workspace, Select Topological Quantum Computing. Copy each into your notebooks, which is the third item among your listed Jupyter Notebooks.
Opening each starts a new Jupyter Server instance within your Azure Quantum Workspace. Study it, then click run all.
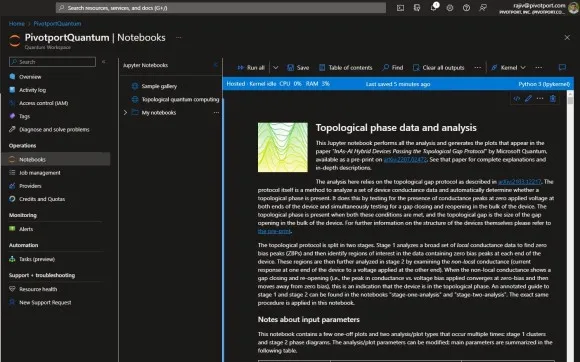
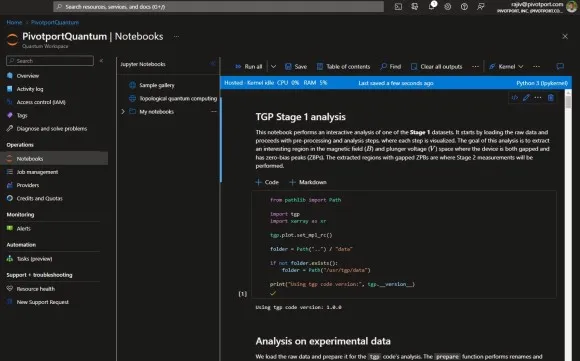
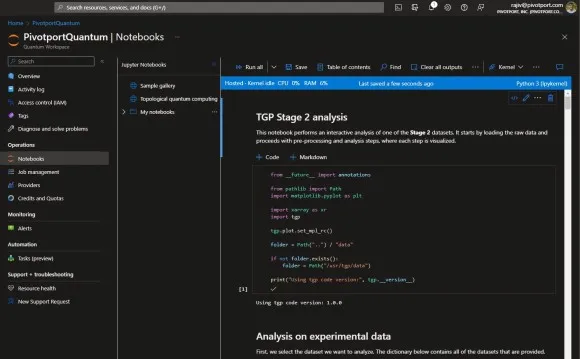
Each notebook should execute within a few minutes and populate the cells with results – data or graphics.
In case you want to see the outputs you can read this paper which contains all the graphics that are generated using these three notebooks. Below is a Zipfile containing execution results from Pivotport Quantum Workspace if you wish to examine them in your own Jupyter Server.